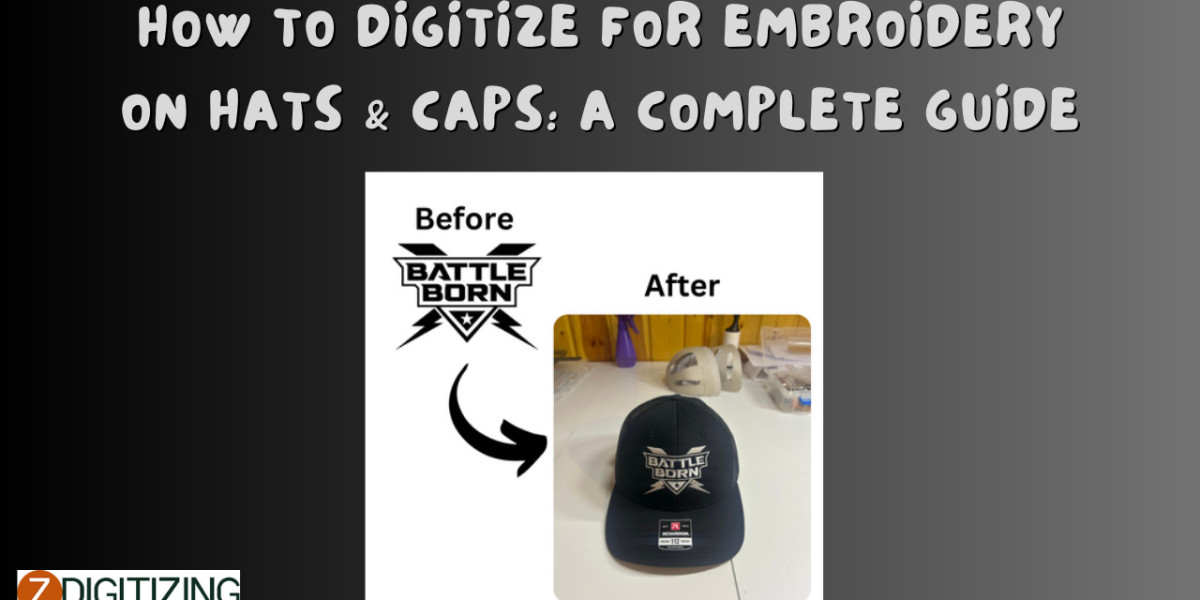
Embroidering hats and caps is a fantastic way to add flair, whether for personal style, team branding, or a small business venture. But digitizing designs for these curved, structured items isn’t quite like flat fabric projects—it requires a tailored approach. How do you digitize for embroidery on hats and caps? This complete guide walks you through the process, from design prep to stitching, ensuring your logos or artwork pop on headwear. Let’s stitch up some head-turning results!
Why Digitizing for Hats & Caps Is Unique
Hats and caps present challenges: curved surfaces, stiff bills, and limited hoop space. Digitizing for them means adapting your design to fit snugly, stitch cleanly, and handle the fabric’s quirks (like thick twill or stretchy knits). Precision matters—a poorly digitized design can pucker, distort, or overwhelm the cap. With the right steps, though, you’ll master this niche craft.
Tools You’ll Need
Before starting, gather these essentials:
- Digitizing Software: Hatch, Wilcom, Ink/Stitch (free), or Brother PE-Design.
- Computer: To run your software.
- Embroidery Machine: With a cap hoop attachment (e.g., 4x4-inch hoop).
- Cap Hoop: Specialized for hats—check your machine’s compatibility.
- Design File: A logo or artwork (SVG, PNG, or sketch).
- Stabilizer: Tear-away or cut-away for support.
- Scrap Caps: For testing—old hats work fine.
Step 1: Prepare Your Design for a Hat
Why It Matters
Hats have small, curved embroidery areas (typically 2x4 or 4x4 inches), so your design must fit and flex with the shape.
How to Do It
- Choose a Simple Design: Logos with bold shapes or text work best—avoid tiny details or gradients that blur on curves.
- Size It Right: Aim for 2–3 inches wide and 1–2 inches tall for front panels; smaller for sides. Measure your cap’s stitchable area.
- Simplify: In a free tool like Inkscape, remove excess elements (e.g., fine lines under 0.25 inches) that won’t show well.
Tip
Keep text at least 0.25 inches tall—smaller letters lose clarity on hats.
Step 2: Import and Set Up in Software
Why It Matters
Proper setup ensures your design aligns with the cap’s hoop and curvature, avoiding stitch mishaps.
How to Do It
- Open Software: Launch your tool (e.g., Hatch Embroidery Digitizer).
- Import Design: Drag in your file and resize to fit the cap’s dimensions (e.g., 2.5x1.5 inches).
- Set Hoop Size: Select your cap hoop template (most software includes these). Center the design—hats often embroider front and center or slightly off to one side.
Tip
Use the software’s grid tool to align your design precisely within the hoop.
Step 3: Assign Stitches for Hat Fabrics
Why It Matters
Caps use thicker, textured fabrics, so stitch types and settings must adapt to prevent sinking or puckering.
How to Do It
- Pick Stitch Types:
- Running Stitch: For outlines or thin details (e.g., a logo’s border).
- Satin Stitch: For text or narrow shapes (keep under 8mm wide due to curvature).
- Fill Stitch: For solid areas (e.g., a logo’s circle)—use lower density (e.g., 0.4–0.5mm spacing).
- Adjust Density: Hats need lighter fills than flat fabric—too dense, and stitches sink into twill or pile up on knits.
- Set Colors: Match thread to your design (e.g., white on a navy cap). High-contrast colors pop best.
Tip
For 3D puff effects (popular on hats), add foam and use satin stitches—test first!
Step 4: Optimize for Cap Embroidery
Why It Matters
Hats require tight sequencing and stability to stitch smoothly on their curved, rigid surfaces.
How to Do It
- Sequence Stitches: Start with fills, then outlines or text, to keep edges crisp. Minimize jumps—connect nearby elements to reduce trims.
- Add Stabilizer: Use a medium cut-away stabilizer behind the cap to support stitches; secure it in the hoop tightly.
- Adjust Pull Compensation: Increase it slightly (e.g., 0.2–0.3mm) in software—hats stretch less than flat fabric, and this prevents gaps.
Tip
Preview the stitch path in your software’s simulator—watch for jumps that could snag on the cap frame.
Step 5: Test and Stitch on the Cap
Why It Matters
Testing avoids ruining a good cap, and final stitching brings your digitized design to life.
How to Do It
- Test First: Export to your machine’s format (.DST, .PES, etc.) and stitch on a scrap cap or fabric swatch. Check for puckering, alignment, or thread breaks.
- Tweak: If stitches sink, lower density; if text blurs, switch to satin or simplify. Re-test until perfect.
- Stitch the Cap: Hoop your cap tightly, load the file, and embroider. Remove stabilizer carefully post-stitch.
Tip
Use a cap frame with firm tension—loose hooping distorts designs.
Common Pitfalls and Fixes
- Overcrowded Designs: Too much detail jams the hoop. Fix: Simplify before digitizing.
- Puckering: Dense stitches pull fabric. Fix: Lower density or add stabilizer.
- Misalignment: Design shifts on the curve. Fix: Center precisely in software.
Tips for Hat Digitizing Success
- Start Small: Practice with a basic logo or initials.
- Know Your Cap: Measure stitchable areas (front, side, back) before designing.
- Use Stabilizer: Don’t skip it—hats need the support.
- Test Twice: Stitch on scraps until you’re confident.
Why Digitize for Hats & Caps?
Hats are portable billboards—perfect for logos, slogans, or personal touches. Digitizing your own designs saves outsourcing costs ($20–$50 per file) and lets you customize endlessly. In 2025, with tools like Hatch or even free Ink/Stitch, it’s more accessible than ever. Plus, embroidered caps are durable, stylish, and in demand.
Final Thoughts: Crown Your Caps with Custom Embroidery
Digitizing for embroidery on hats and caps is a skill worth mastering, and it’s easier than it looks with this complete guide. From prepping your design to stitching it on a cap, these five steps—preparing, importing, assigning stitches, optimizing, and testing—set you up for success. Grab your software, hoop a cap, and start digitizing. Whether it’s a team logo or a quirky phrase, your headwear is about to steal the show!
FAQs About Digitizing for Embroidery on Hats & Caps
What’s the best software for hat digitizing?
Hatch Embroidery—its cap hoop templates and ease suit beginners; Wilcom for pros.
Can I digitize for hats with free software?
Yes—Ink/Stitch works, but requires manual tracing and hoop setup.
Why do my hat stitches look uneven?
Could be density—reduce it for thick cap fabrics, or check hooping tension.
What’s the ideal logo size for a cap?
2–3 inches wide, 1–2 inches tall fits most front panels cleanly.
Do I need a special hoop for hats?
Yes—a cap hoop is essential; flat hoops won’t hold the curve.
Can I embroider on a cap bill?
Yes, but keep it small (e.g., 1x2 inches) and use light fill stitches—bills are stiff.
How do I handle stretchy knit caps?
Use low-density fills and a cut-away stabilizer to avoid pulling.
Is 3D puff embroidery good for hats?
Yes—it’s popular! Use satin stitches over foam, but test density first.
How long does it take to digitize for a hat?
A simple design takes 30–60 minutes; complex ones longer.