Introduction
Embroidery has long been cherished for its ability to add texture, color, and personality to fabric. From intricate monograms to vibrant corporate logos, embroidery breathes life into textiles. However, in today's digital age, this artistry has taken a technological turn. Mastering the art of digitizing embroidery designs is now essential for anyone looking to create professional, high-quality embroidery.
But what exactly does it mean to digitize embroidery designs? How can one perfect this skill to produce stunning and accurate stitched creations? This guide will walk you through everything you need to know about digitizing—from understanding the basics to exploring advanced techniques—empowering you to bring your creative visions to life.
What is Digitizing in Embroidery?
The Basics of Digitizing
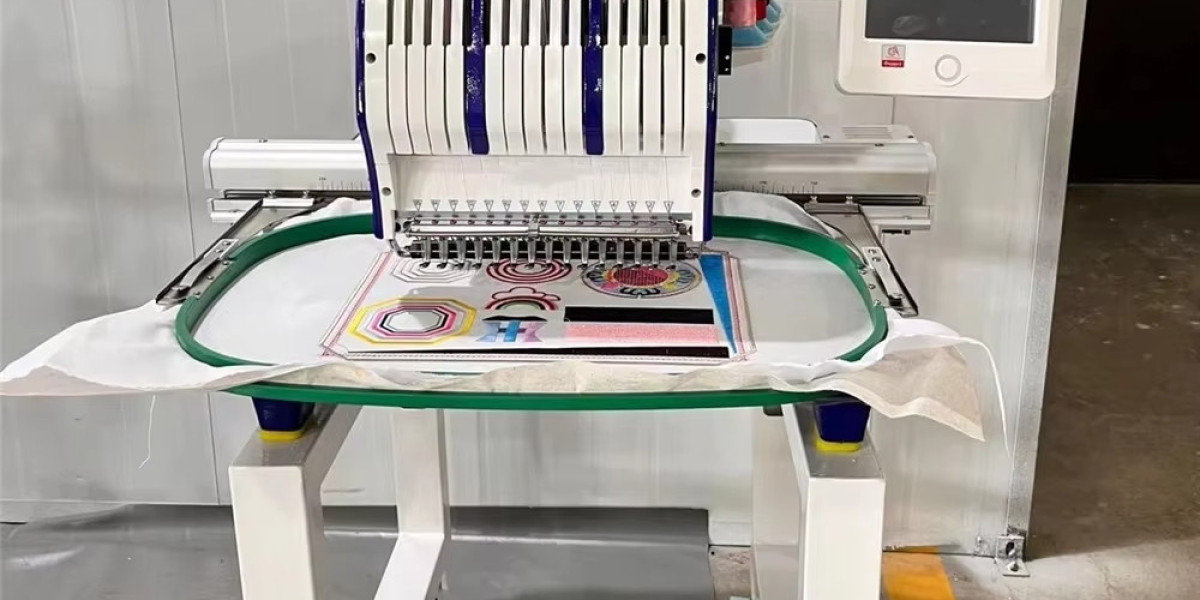
Digitizing for embroidery is the process of converting artwork, logos, or designs into a digital embroidery file. This file contains instructions that an embroidery machine reads to determine how to stitch the design onto fabric. Unlike printing, embroidery requires special consideration for stitch types, thread direction, density, and layering to achieve the desired result.
How Does the Process Work?
- Import the Design: Start with a high-resolution image (JPEG, PNG, or vector format) of the design.
- Choose Stitch Types: Select appropriate stitch types—satin, fill, or running stitch—based on the design's components.
- Define Stitch Directions: Set the path and direction for each stitch to ensure a smooth and professional finish.
- Adjust Stitch Density: Customize stitch density depending on the fabric type and design size.
- Preview and Test: Simulate the design in software and test it on fabric before final production.
Why is Mastering the Art of Digitizing Embroidery Designs Important?
Precision and Accuracy
Proper digitizing ensures that your design translates accurately onto fabric. Without it, even the most beautiful artwork can result in messy, unrecognizable embroidery.
Customization and Flexibility
Digitizing gives you creative freedom. You can adjust colors, stitch types, and sizes to suit different fabrics and styles.
Professional Results
High-quality digitized designs lead to cleaner, more durable, and visually appealing embroidery, which is essential for businesses and brands.
Essential Tools for Digitizing Embroidery Designs
1. Digitizing Software
Investing in reliable embroidery digitizing software is the first step. Popular options include:
- Wilcom Embroidery Studio – Ideal for professionals with advanced features.
- Hatch Embroidery – User-friendly and great for beginners.
- Brother PE-Design – Perfect for Brother machine users.
- Embrilliance Essentials – Affordable and beginner-friendly.
2. High-Resolution Artwork
Start with a clean, high-resolution image to ensure fine details are captured during digitizing.
3. Embroidery Machine
Choose a compatible embroidery machine that can read popular file formats like DST, PES, or JEF.
4. Stabilizers and Threads
Using the right stabilizers prevents fabric distortion, and selecting high-quality threads ensures vibrant, long-lasting designs.
Step-by-Step Guide to Mastering the Art of Digitizing Embroidery Designs
Step 1: Choose the Right Design
Select a design that is suitable for embroidery. Highly detailed images may need simplification.
Step 2: Import the Design into the Software
Open your digitizing software and import the artwork file.
Step 3: Assign Stitch Types
Break the design into parts and assign appropriate stitches.
- Satin Stitch: Best for text and outlines.
- Fill Stitch: Ideal for larger areas.
- Running Stitch: Great for fine lines and details.
Step 4: Set Stitch Directions and Density
Adjust the stitch angles and density to create depth and prevent fabric puckering.
Step 5: Add Underlay Stitches
Underlay stitches provide a foundation, ensuring the design stays smooth and secure.
Step 6: Sequence the Stitching Order
Organize the stitching order to minimize jumps and thread trims.
Step 7: Preview and Test the Design
Run a virtual preview, then embroider on a sample fabric to check for errors.
Step 8: Final Adjustments and Save
Make any necessary tweaks, then save the file in the correct format for your machine.
Tips for Perfect Digitizing
Understand Fabric Behavior
Different fabrics react differently to stitches. Adjust stitch density and underlay based on fabric type.
Simplify Complex Designs
Too much detail can get lost in embroidery. Simplify intricate designs to ensure clarity.
Choose Quality Threads
Use high-quality embroidery threads to achieve vibrant colors and reduce thread breakage.
Test Before Production
Always test the digitized design on scrap fabric to catch mistakes early.
Common Mistakes in Digitizing and How to Avoid Them
- Ignoring Fabric Type – Always adjust settings based on the fabric's stretch and weight.
- Overcomplicating Designs – Simplify designs to prevent cluttered stitching.
- Incorrect Stitch Density – Too dense can cause puckering; too loose can result in gaps.
- Skipping Underlay Stitches – Underlays are crucial for stability and texture.
Advanced Techniques for Digitizing Embroidery Designs
Gradient Effects
Blend colors smoothly using varying stitch densities to create gradient-like effects.
3D Puff Embroidery
Use foam under satin stitches to create raised, 3D effects for bold designs.
Appliqué Integration
Digitize designs that incorporate fabric pieces (appliqué) to add texture and color.
Texture Creation
Experiment with stitch patterns to create textured embroidery, adding depth and dimension.
Conclusion
Mastering the art of digitizing embroidery designs is a creative journey that blends artistic vision with technical skill. By understanding the digitizing for embroidery process, using the right tools, and practicing advanced techniques, you can produce stunning, high-quality embroidery that stands out. Whether you're a hobbyist looking to personalize your creations or a professional aiming for precision and efficiency, mastering this craft unlocks limitless possibilities in the world of digitizing for embroidery.
So, grab your favorite designs, fire up your digitizing software, and start stitching your ideas into reality. The world of embroidery is at your fingertips!


