A Netgear WiFi extender is an excellent investment to eliminate WiFi dead zones and enjoy a seamless internet experience throughout your home or office. By following the simple setup process and optimizing its performance, you can enhance your wireless signal strength and stay connected with ease. Say goodbye to WiFi frustrations and hello to a strong, reliable network!
Here's a step-by-step guide to setup netgear wiFi extender:
Prepare the Hardware:
- Unbox the WiFi extender and find the power adapter and ethernet cable (if included).
- Place the extender in a location where it can receive a strong WiFi signal from your main router but still cover the area you want to extend the network to.
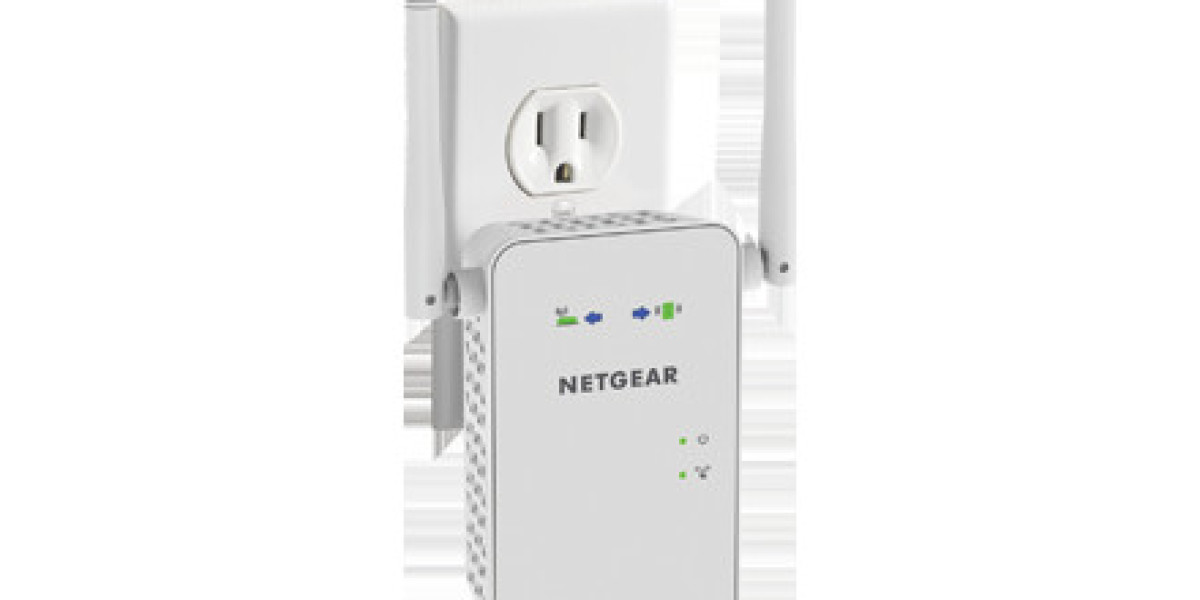
Power On the Extender:
- Plug the WiFi extender into a power outlet and wait for the power LED to turn solid green.
Connect to the Extender:
- On your computer or mobile device, go to the list of available WiFi networks and connect to the network named "NETGEAR_EXT" or something similar. The default WiFi network name (SSID) might vary based on the model.
Open a Web Browser:
- Once connected to the extender's network, open a web browser (e.g., Chrome, Firefox, Safari).
Setup Wizard:
- The browser should automatically redirect you to the Netgear Genie setup page or the Netgear Installation Assistant. If it doesn't, enter mywifiext net into the browser's address bar and press Enter.
Login to the Extender:
- If prompted, enter the default username and password. The default credentials are usually:
- Username: admin
- Password: password (or leave it blank)
- If prompted, enter the default username and password. The default credentials are usually:
Choose the WiFi Network to Extend:
- The setup wizard will scan for available WiFi networks. Select your main WiFi network from the list and click "Next" or "Continue."
Enter WiFi Password:
- Enter the password for your main WiFi network and click "Next" or "Continue."
Choose Extender Network Name (SSID):
- You can keep the default extender network name (recommended) or choose a new one. Click "Next" or "Continue."
Create Extender Password:
- Set a new admin password for the extender's settings to enhance security.
Apply Settings:
- Review the settings you've entered and click "Finish" or "Apply" to complete the setup.
Connect Devices:
- Once the extender restarts and connects to the main WiFi network, reconnect your devices to the extended WiFi network using the new extender SSID and password.
That's it! Your Netgear WiFi extender is now set up and ready to extend your existing WiFi network. If you encounter any issues during the setup process, you can refer to the user manual that came with the extender or visit the Netgear support website for further assistance.