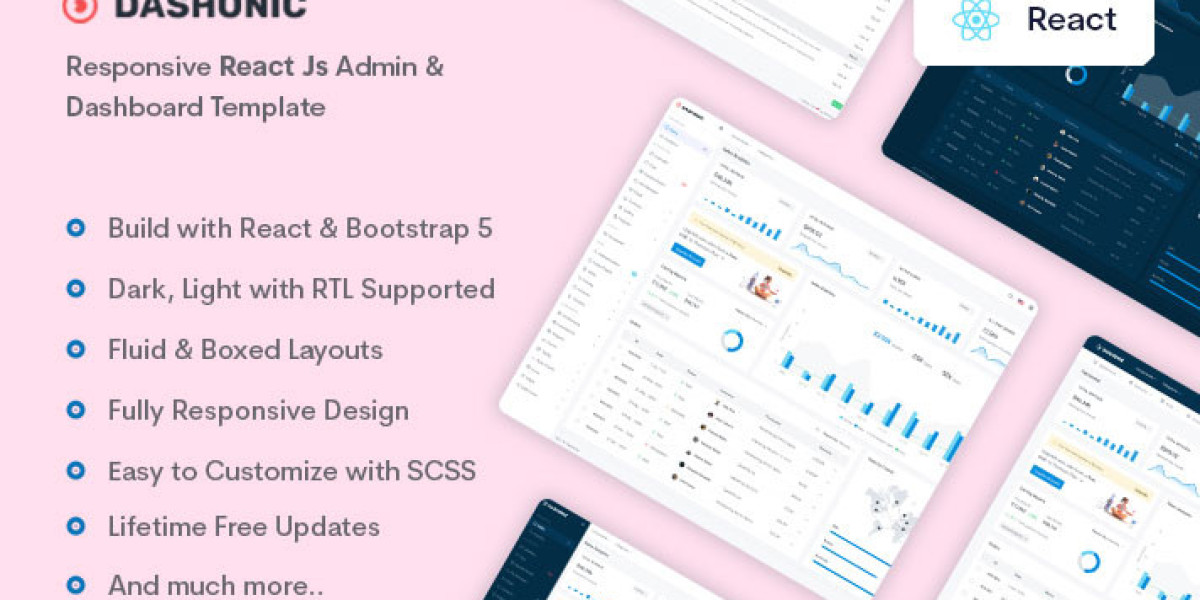
Are you looking for a powerful and user-friendly solution to manage your website's backend? Look no further! Pichforest is here to provide you with the perfect solution. At our company, we specialize in providing top-notch React Admin Dashboard templates that can revolutionize the way you handle your business operations. Our templates are designed to offer a seamless and efficient experience, empowering you to focus on what matters most: growing your business. In this article, we will guide you through the process of getting started with our React Admin Dashboard template, from installation and setup to configuring the template and understanding its project structure.
Getting Started with the React Admin Dashboard Template
Before diving into the technical aspects, let's take a moment to understand the essence of a React Admin Dashboard template. Simply put, it is a pre-built user interface (UI) framework that incorporates React components specifically designed for managing and visualizing data in the backend of a web application. With its modular and customizable nature, our React Admin Dashboard template offers a comprehensive set of tools and features to streamline your website's backend operations.
Installation and Setup
To begin harnessing the power of our React Admin Dashboard template, you need to follow a few simple steps for installation and setup. Let's walk through the process:
Step 1: Download the template
The first step is to download the React Admin Dashboard template from our website. Click Here to Visit our official website and navigate to the downloads section. Select the template that best suits your requirements and click on the download button. The template will be saved to your local machine as a compressed file.
Step 2: Extract the Template
Once the template is downloaded, locate the compressed file and extract its contents to a folder of your choice. This folder will serve as the project directory for your React Admin Dashboard.
Step 3: Install Dependencies
Before running the template, make sure you have the necessary dependencies installed on your system. Open a terminal or command prompt window and navigate to the project directory. Run the following command to install the required dependencies:
This command will fetch and install all the dependencies listed in the project's package.json file.
Step 4: Start the Template
Once the dependencies are installed, you can start the React Admin Dashboard template by running the following command in the terminal or command prompt:
This command will start a development server and open the template in your default web browser. You can now access the template and begin customizing it to suit your needs.
Configuring the Template
Our React Admin Dashboard template offers a wide range of configuration options to tailor the UI according to your preferences. Let's explore some key configuration aspects:
Step 1: Theme Customization
The template provides a flexible theme system that allows you to customize the overall look and feel of your admin dashboard. You can choose from a variety of predefined themes or create your own by modifying the theme files. By selecting the appropriate theme, you can align the UI with your brand identity and create a visually appealing interface.
Step 2: Data Integration
To make the most of the React Admin Dashboard template, you need to integrate it with your data sources. Whether you're fetching data from an API, a local database, or any other source, the template offers built-in components and utilities to simplify the process. By configuring data providers and defining the necessary endpoints, you can seamlessly connect your data to the admin dashboard.
Step 3: User Authentication and Authorization
Security is a crucial aspect of any admin dashboard. Our template provides comprehensive solutions for user authentication and authorization. You can easily set up user roles and permissions, ensuring that each user has access to the appropriate features and data. By configuring the authentication and authorization mechanisms, you can maintain a secure and controlled environment for your website's backend.
Understanding the Project Structure
To effectively customize and extend the React Admin Dashboard template, it's important to have a clear understanding of its project structure. Let's examine the key components:
Source Code
The source code of the template is organized in a structured manner to facilitate ease of development. The main components, styles, and utility functions can be found in the "src" directory. By exploring the source code, you can gain insights into how the template works and make modifications as per your requirements.
Routing and Navigation
The React Admin Dashboard template utilizes a routing system to enable seamless navigation between different sections of the admin dashboard. The routing configuration can be found in the "src/routes" directory. By understanding the routing structure, you can customize the navigation flow and add new pages to the admin dashboard.
UI Components
The template includes a rich collection of reusable UI components, such as tables, charts, forms, and notifications. These components can be found in the "src/components" directory. By leveraging these pre-built components, you can accelerate the development process and deliver a polished user experience.
Conclusion
In conclusion, our React Admin Dashboard template provides a comprehensive solution for managing the backend of your website. From installation and setup to configuration and project structure, we have covered the essential aspects to get you started. By utilizing the power of React and our intuitive template, you can streamline your business operations, improve efficiency, and achieve greater success. Don't miss out on this opportunity to take your website to new heights!