A kitchen sink is one of the most used fixtures in any home, and over time, it may require replacement due to wear and tear, outdated design, or the need for a functional upgrade. Replacing a kitchen sink can enhance the aesthetics, usability, and overall value of your kitchen. This ultimate guide will walk you through everything you need to know about kitchen sink replacements, from choosing the right type to installation and maintenance.
Signs That You Need a Kitchen Sink Replacement
Before diving into the replacement process, it’s important to recognize when it’s time for a new sink. Here are some signs that indicate you need a kitchen sink replacement:
Visible Cracks and Damage – If your sink has chips, cracks, or dents, it may not only look unattractive but also be prone to leaks and further damage.
Persistent Leaks – Frequent leaks from the sink or pipes can indicate deeper structural issues that necessitate a replacement.
Stains and Discoloration – Over time, sinks may become permanently stained, especially if they are made of materials prone to discoloration.
Rust and Corrosion – Metal sinks, especially those made of stainless steel, can develop rust or corrosion, making them unsafe for food preparation.
Outdated Design – If your kitchen sink looks old-fashioned or no longer complements your kitchen’s decor, an upgrade can refresh the entire space.
Poor Functionality – If your sink is too small, lacks adequate depth, or doesn’t fit well with your daily needs, a replacement can improve functionality.
Choosing the Right Kitchen Sink Replacement
When selecting a new kitchen sink, several factors should be considered to ensure the perfect fit for your kitchen. Here’s what to look for:
1. Sink Material
The material of the sink affects its durability, maintenance, and overall look. Some common materials include:
Stainless Steel – Durable, easy to clean, and resistant to stains and heat.
Cast Iron – Coated with enamel, these sinks are highly durable but heavy.
Composite Granite – Resistant to scratches, stains, and heat but requires regular cleaning.
Fireclay – Offers a sleek and elegant look, but it can be prone to chipping.
Copper – Adds a unique, rustic aesthetic and has natural antibacterial properties but requires special maintenance.
2. Sink Mounting Style
There are different ways to install a sink, and choosing the right mounting style depends on your countertop and kitchen design.
Top-Mount (Drop-In) Sinks – The sink edges rest on the countertop, making them easy to install.
Undermount Sinks – Installed beneath the countertop for a seamless look, but they require professional installation.
Farmhouse (Apron-Front) Sinks – Extend beyond the countertop, offering a deep basin and a stylish appearance.
Integrated Sinks – Made from the same material as the countertop for a sleek, modern look.
3. Size and Configuration
Single Basin Sinks – Ideal for small kitchens or those who prefer an open workspace.
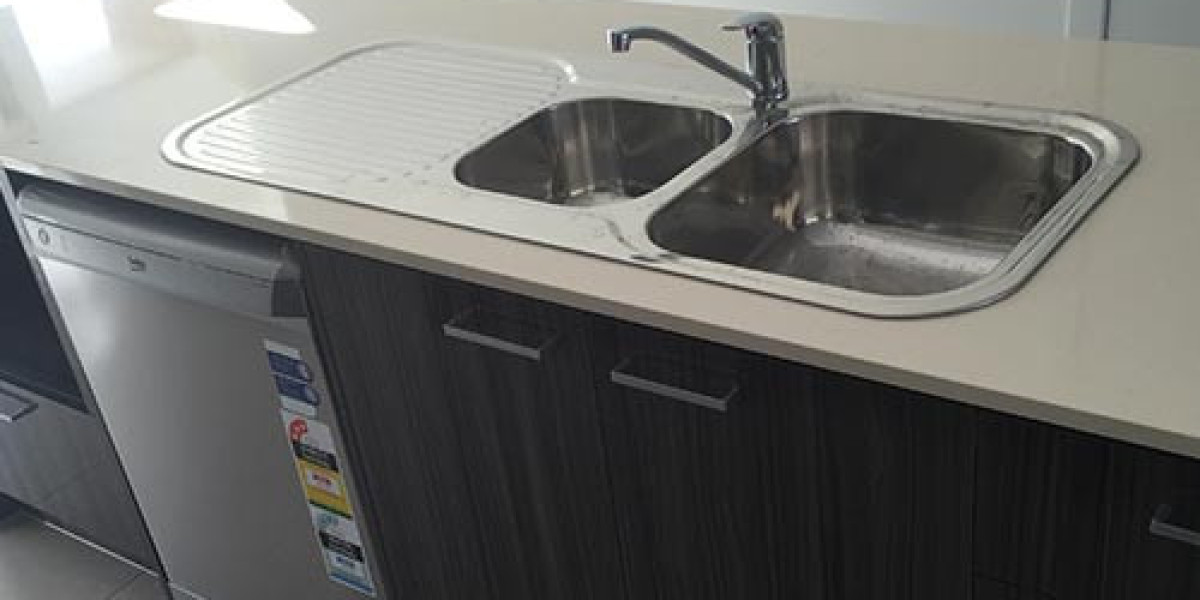
Double Basin Sinks – Allow for multitasking, such as washing dishes in one section and rinsing in the other.
Triple Basin Sinks – Useful for heavy-duty kitchen tasks but require more space.
Depth Considerations – Deeper sinks accommodate larger pots and pans but may be uncomfortable for shorter users.
4. Faucet Compatibility
Ensure that your new sink is compatible with your kitchen faucet. Some sinks come with pre-drilled holes, while others require custom drilling based on your faucet preference.
How to Replace a Kitchen Sink: Step-by-Step Guide
Replacing a kitchen sink may seem daunting, but with the right tools and instructions, it can be a manageable DIY project. Here’s a step-by-step guide to replacing your kitchen sink.
Tools and Materials Needed:
Adjustable wrench
Plumber’s putty
Silicone caulk
Screwdriver
Pipe wrench
Bucket
New sink
Plumber’s tape
Step 1: Remove the Old Sink
Turn Off the Water Supply – Shut off the water valves under the sink.
Disconnect the Plumbing – Use a wrench to loosen the drain pipes and remove them carefully.
Remove the Sink Clips – If your sink is secured with clips, unscrew them.
Lift Out the Sink – Carefully remove the sink from the countertop.
Clean the Area – Scrape off old caulk or sealant to prepare for the new sink.
Step 2: Install the New Sink
Check the Fit – Place the new sink in the cutout to ensure it fits properly.
Apply Plumber’s Putty – Around the drain openings to create a watertight seal.
Attach the Drain and Faucet – Secure the drain assembly and mount the faucet before setting the sink in place.
Position the Sink – Lower the sink into the cutout, ensuring a snug fit.
Secure the Sink – Attach mounting clips or brackets as required.
Seal the Edges – Apply a bead of silicone caulk around the edges to prevent leaks.
Step 3: Reconnect the Plumbing
Reconnect the Drain Pipes – Secure them tightly using a wrench.
Turn the Water Supply Back On – Check for any leaks.
Test the Sink – Run water to ensure proper drainage and functionality.
Maintenance Tips for a Long-Lasting Sink
Once your new sink is installed, proper maintenance will ensure its longevity. Here are some essential care tips:
Clean Regularly – Wipe down the sink daily to prevent buildup of stains and grime.
Avoid Harsh Cleaners – Use mild soap and water instead of abrasive chemicals.
Prevent Scratches – Use a sink grid or mat to protect the surface.
Address Leaks Promptly – Fix any minor leaks before they become major issues.
Use Baking Soda and Vinegar – To clean drains and prevent clogging naturally.
Conclusion
Replacing a kitchen sink is a rewarding upgrade that enhances both aesthetics and functionality. Whether you’re tackling the replacement yourself or hiring a professional, understanding the process and choosing the right sink will ensure a seamless transition. With the right care and maintenance, your new kitchen sink will serve you well for years to come.
If you’re ready to replace your kitchen sink, take the time to research your options and choose a sink that meets your needs and style preferences. Happy upgrading!